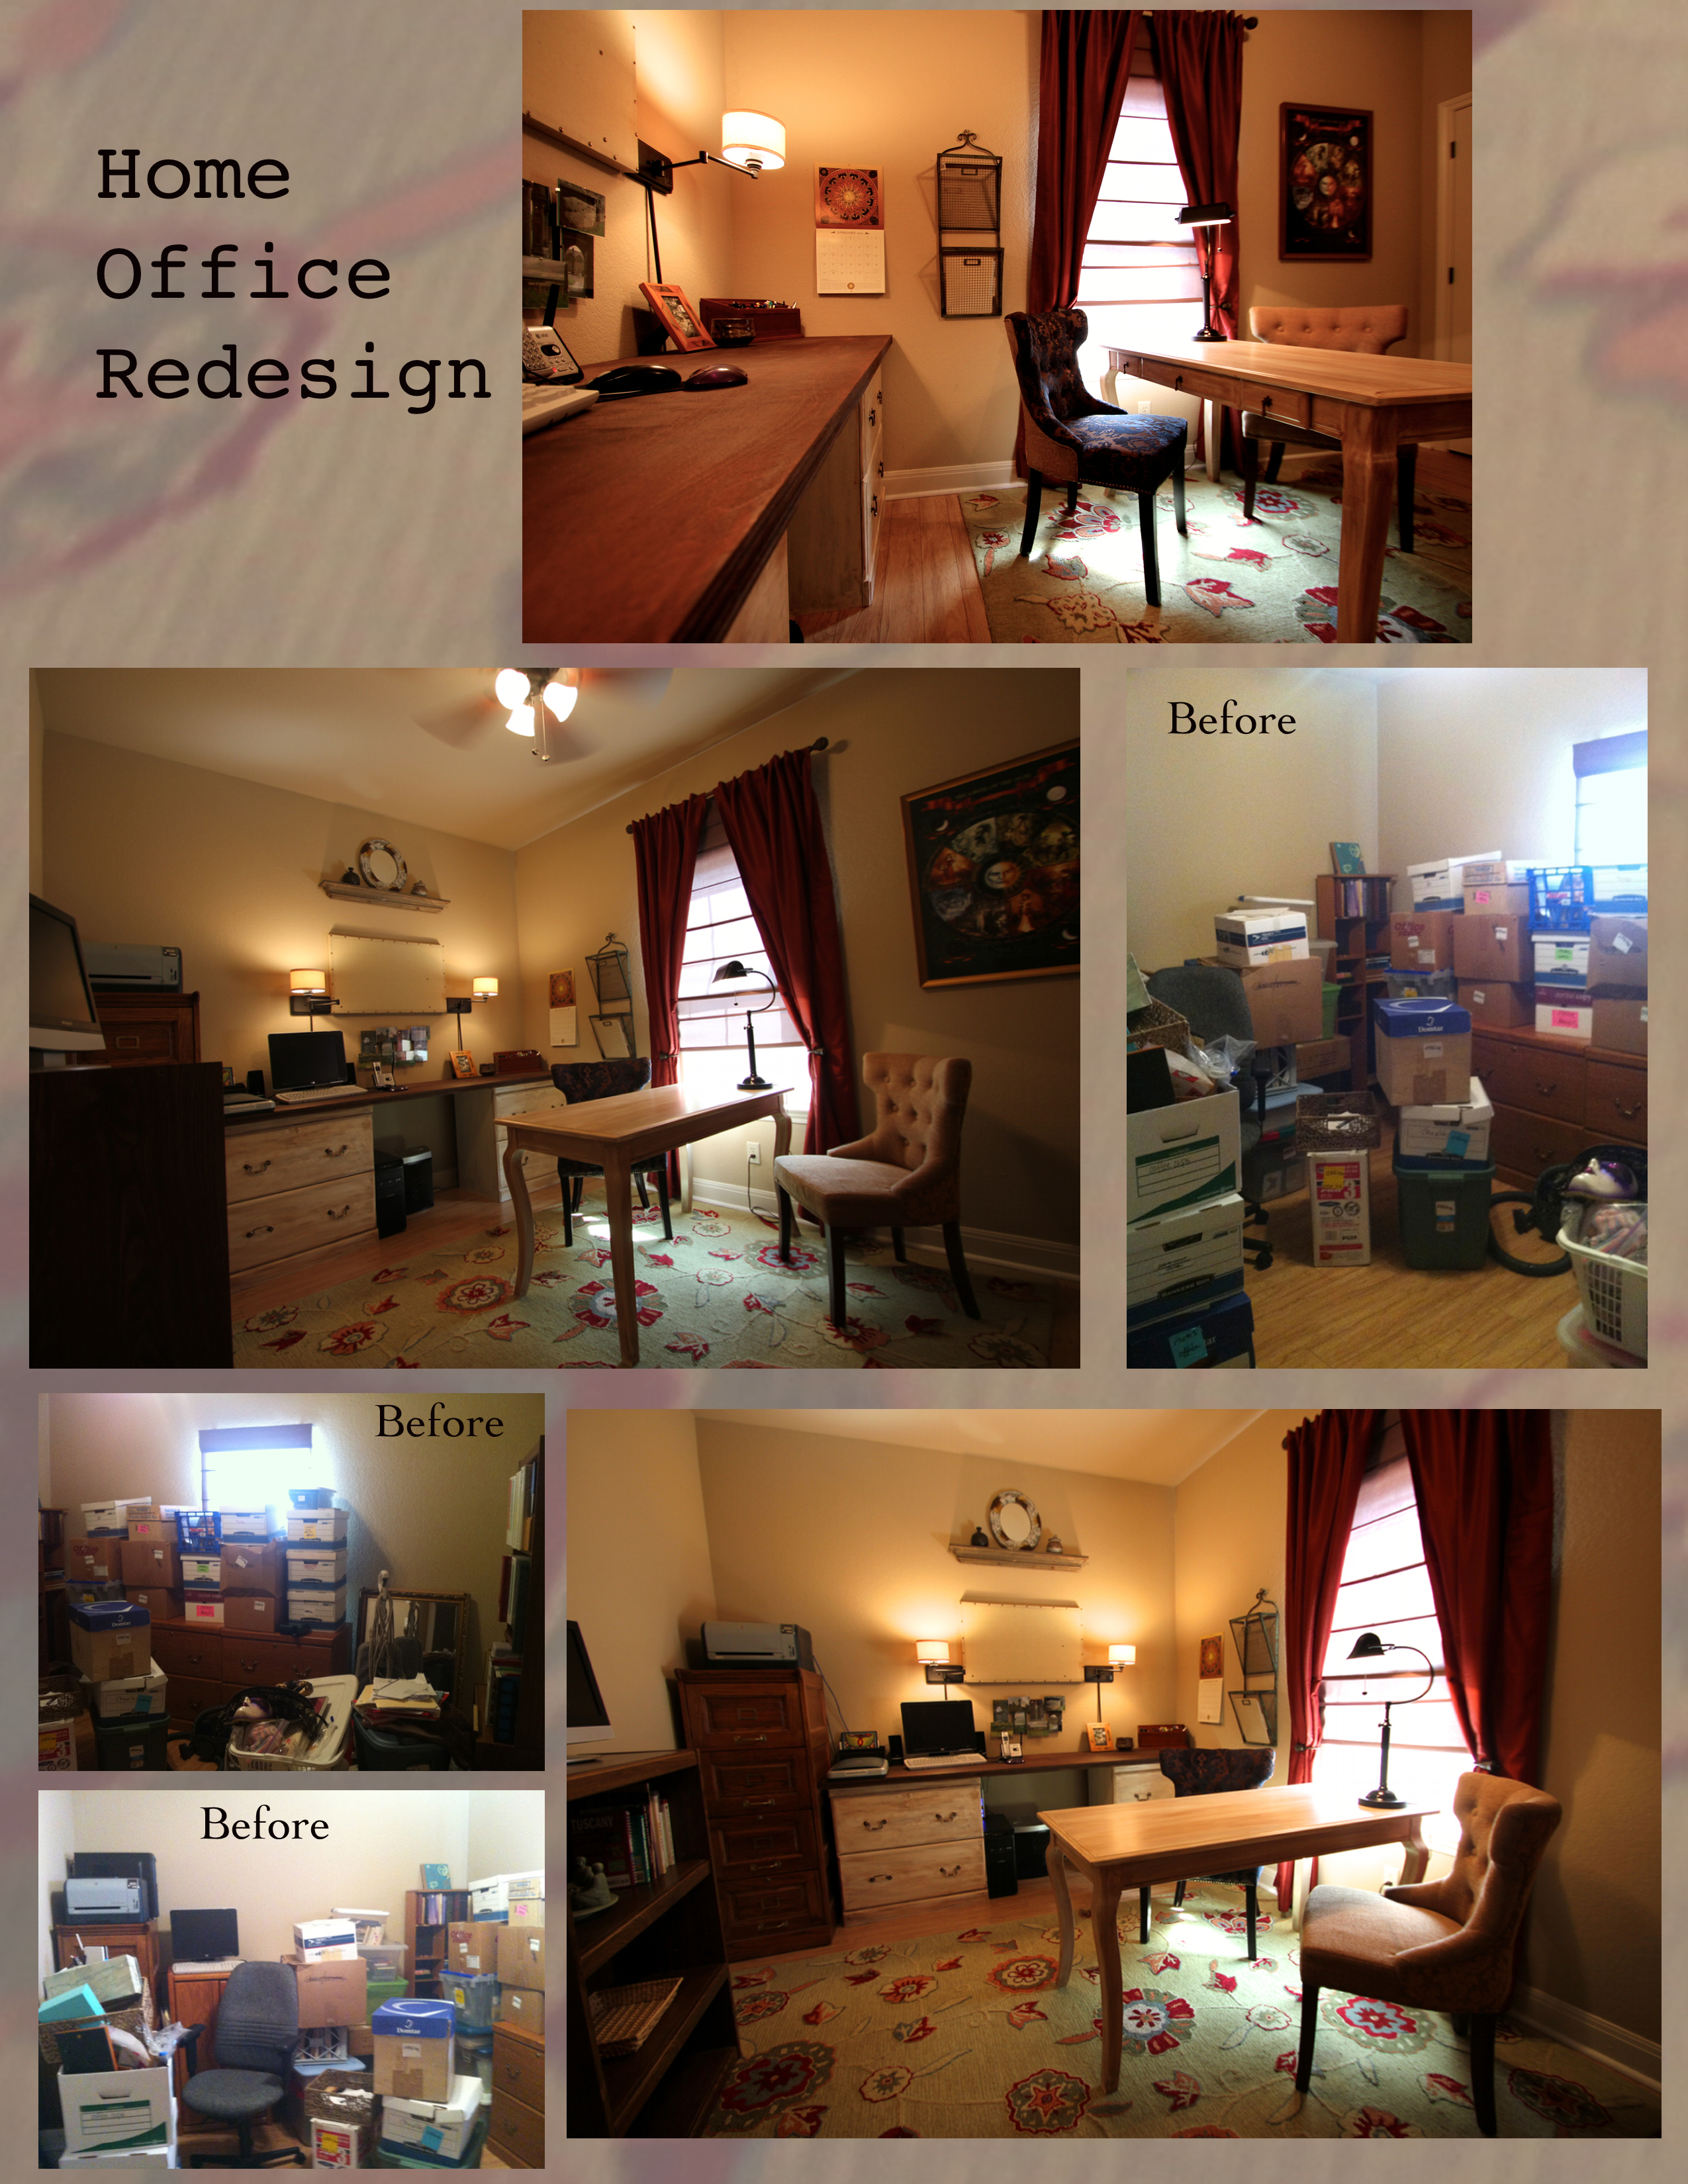
Here is a home office that I did for my mother-in-law (a very special lady). It’s not quite done, but it’s done enough to post. Once I get the art and a few other pieces, I’ll photograph it again and repost. In a nutshell, here’s how I got this look:
- First I cleared her space as best as I could, leaving only pieces I knew I would use. I actually brought in another piece I originally pulled once I got office done.
- Painted both file cabinets a cream color. I was going for the distressed look. It’s nearly impossible to make laminate look perfect. Once dried, I gave it a “tea stain” look by ragging (little goes very long way) on dark stain. Please note, this can take a few days or more to dry.l
- Measured and cut birch plywood to fit across two (identical) file cabinets. I used one whole sheet of plywood but put the smaller cut on the bottom. The thicker, the less potential
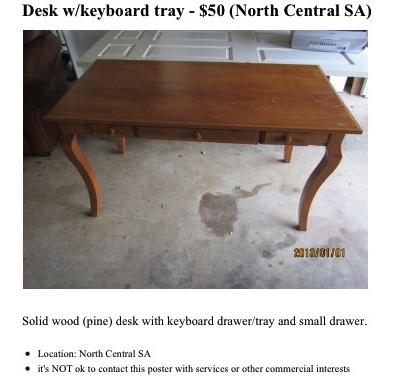
$50 desk from Craigslist for Home Office Redesign to sag.
- Stained the plywood. I do still need to add the finishing trim, but looks fine for now.
- Found and purchased desk from Craig’s List for $50, that’s right $50!!! Brought it back and painted it the same as file cabinets.
- Hit Homegoods (desk lamp $40, wire file holder $20, Pin Board $25, Mirror $20, Shelf above Pin Board $20), Hobby Lobby (Drapes 40% off @ $25 each drape=$50, Rod $15, Drawer Pull for New Desk $4 each = $12) and pulled rug from my staging inventory (purchased for close to $400 but selling for $200).
- Purchased the sconce lighting from Home Deport ($45 each = $90 total)
Total Project Thus Far: +/- $600.00
Value: Priceless! My Mother-in-Law and I have gotten to reconnect and spend valuable time together.